
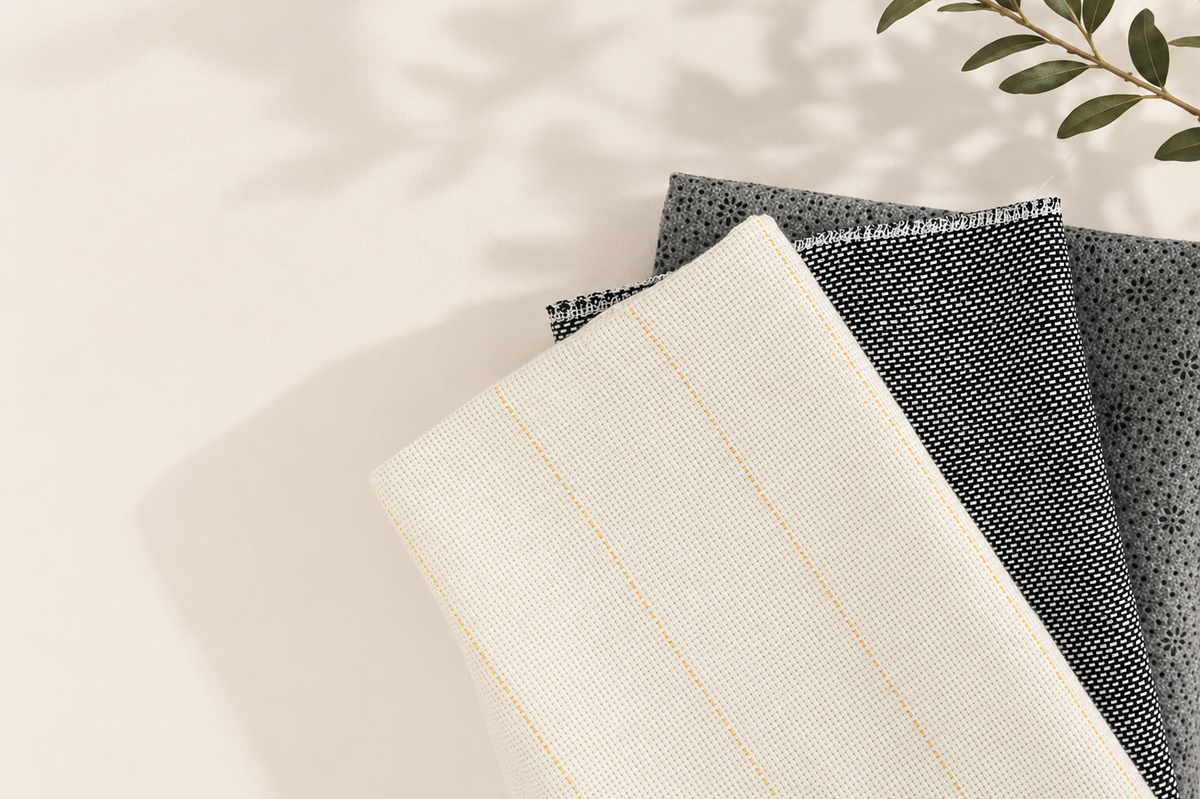
Primary tufting cloth for stretching onto a tufting frame

What Tufting Cloth Should You Use? Primary Cloth vs Backing Fabric

The fabric you stretch onto a tufting frame and the fabric you attach to the back of a finished rug do different jobs. Mixing them up can make tufting harder or leave the finished piece without the support and appearance you expected.

For most powered tufting-gun projects, start with purpose-made primary tufting cloth as the working fabric. Choose your finishing layer separately after the tufting is complete.

What is primary tufting cloth?

Primary tufting cloth is the fabric you stretch tightly across the frame and push the tufting-gun needle through. Its weave needs to accept repeated needle movement while helping the yarn stay in place.

Nice Studio’s Primary Tufting Cloth is intended for this working stage. The guide lines make it easier to see whether the fabric has been stretched evenly and can help when transferring or aligning a design.

What is backing fabric?

Backing fabric is added after the tufting has been secured. It covers the back of the work, protects the tufted structure and gives the finished piece a cleaner appearance. A rug intended for the floor may use an anti-slip backing fabric to add grip, while a wall piece may need a different finishing approach.

Backing fabric is not a replacement for primary cloth on the frame. Primary cloth is the surface you tuft through; backing fabric is part of the finishing system.

What about monk’s cloth or other woven fabrics?

The name of a fabric alone does not guarantee that it will work well with a powered tufting gun. Weave, strength and stretch can vary between suppliers. A fabric may look suitable but move away from the needle, tear under repeated passes or fail to hold the yarn consistently.

If you are experimenting with an unfamiliar fabric, test a small offcut first. Make several straight and curved lines, check both sides, then gently test whether the tufts remain stable before committing a full design.

How much cloth do you need?

Your cloth must be larger than the frame’s open working area so there is enough material to grip around every edge. Your design must also fit comfortably inside the frame, with space around it for movement and edge finishing.

Nice Studio’s current primary-cloth options include 70 × 70cm, 100 × 100cm and 200 × 300cm. Availability can change, so check the product page before planning around a particular size.

For Starter Kits, the cloth is supplied already stretched onto the assembled frame:

  • The 40 × 40cm frame includes 50 × 50cm primary tufting cloth.
  • The 60 × 60cm frame includes 70 × 70cm primary tufting cloth.

See the Starter Kit guide if you want a coordinated first setup rather than choosing every component separately.

Why frame tension matters

Primary cloth should feel tight and even across the frame, without loose pockets or diagonal ripples. Loose fabric moves away from the needle and is a common reason yarn will not stay in place.

  1. Attach the cloth evenly around the frame rather than fully tightening one side first.
  2. Pull opposite sides in stages to distribute tension.
  3. Use the guide lines to spot distortion.
  4. Check the tension again as you work, because tufting can gradually change it.

If the yarn still falls out after the cloth is secure, check gun contact, yarn feed and movement direction using our tufting troubleshooting guide.

Choose the finishing layer separately

After tufting, secure the back using a suitable adhesive and allow it to set according to the product instructions. You can then finish the piece with backing fabric or another appropriate method. Nice Studio stocks tufting backing adhesive, hot-melt adhesive mesh and anti-slip backing fabric for different stages of the process.

Still unsure?

If you tell us your frame size, intended project and whether the piece will hang or sit on the floor, Nice Studio can help you choose a practical cloth and backing combination. You can also learn the complete process in a tufting workshop in Hamilton.

Back to blog