
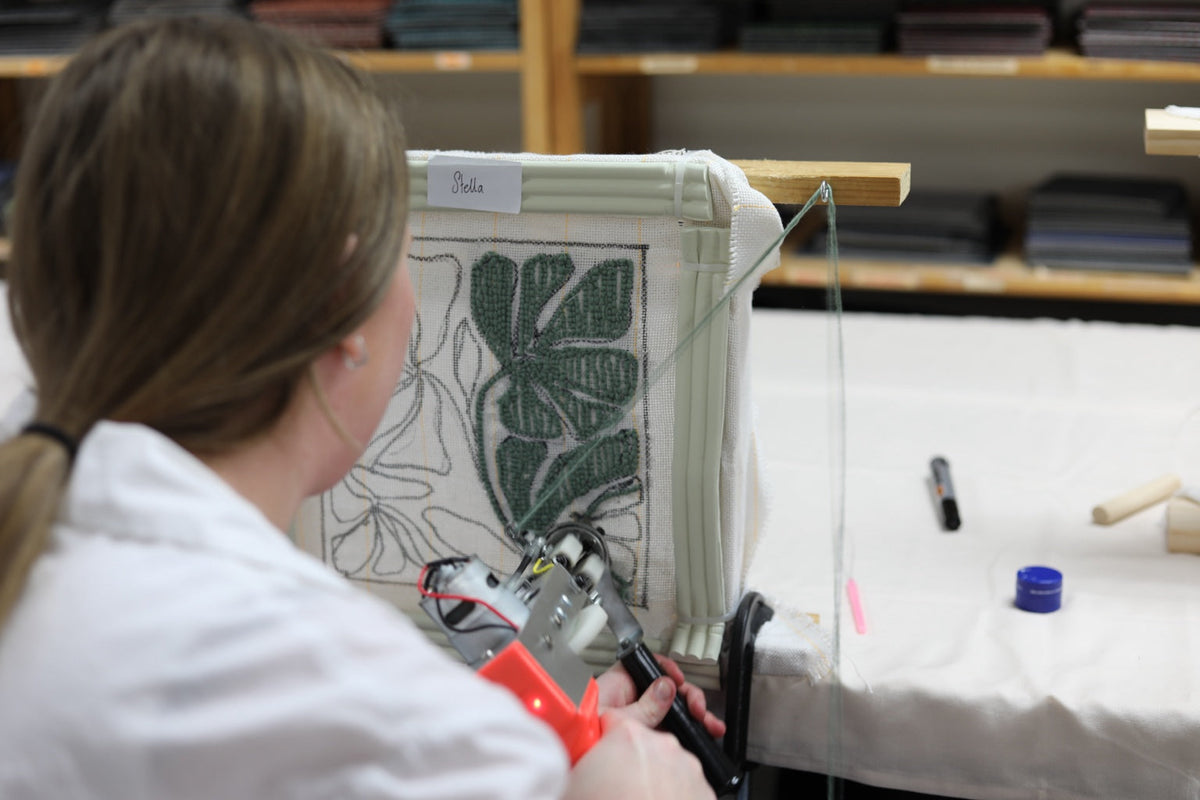
If a tufting line looks fine for a moment and then pulls back out, the gun is not automatically at fault. Start with the cloth, the pressure against it and the yarn path. You can check all three without changing the machine.
Work through the five checks below one at a time. After each change, tuft a short straight line so you can see what made a difference.
1. Check that the cloth is tight and even
Loose backing moves away from the needle instead of giving it a firm surface to work against. The cloth should feel taut across the frame, with no visible slack or ripples. If it has guide lines, use them to spot areas that have been stretched unevenly.
Tension can change as you tuft. Check it again if the problem begins in one area after the rest has been working well.
2. Keep the gun in contact with the cloth
The metal foot at the front of the tufting gun needs to stay against the backing while you work. If the gun is only brushing the surface, the needle may not place the yarn securely.
Use steady forward pressure without forcing the gun through the fabric. If your model has a speed control, slow it down for a practice line and concentrate on keeping the contact consistent.
3. Follow the whole yarn path
Check more than the needle. Yarn needs to travel from the cone, through the guide and into the gun without snagging, tangling or pulling tight behind you.
A fallen cone, a knot or yarn caught around the frame can interrupt the feed. Our cotton-blend tufting yarn comes on a cone ready to feed into a tufting gun, which keeps this part of the setup simple.

4. Move in the direction the gun is facing
A tufting gun is not designed to travel sideways through the backing. Point the foot and needle in the direction you want to move, then rotate the gun when the line changes direction.
For curves, slow down and make several small turns. Trying to force the gun around a tight corner can make the line harder to control.
5. Check whether the backing is suitable
Woven fabrics do not all behave the same way under a powered tufting gun. Purpose-made primary tufting cloth is designed to take repeated needle movement and hold the tufts. Some fabrics sold as monk's cloth can work, but the weave and quality vary.

If the cloth stretches excessively, tears or will not hold a short test line after you have checked tension and technique, test the same setup on a piece of purpose-made tufting cloth before assuming the gun needs adjustment.
Test one change at a time
Re-stretch the cloth, clear the yarn path and try a short straight line while keeping steady pressure on the gun. If the line holds, you have found a useful clue without changing the machine.
If the yarn still will not stay in place, stop before making internal adjustments you are unsure about. If you bought your setup from Nice Studio, contact us and tell us what you are seeing. A photo of the front and back of the test line will help us troubleshoot it.
Need a hand with your first setup?
Browse our tufting starter kits, or learn the process in person at a tufting workshop.