
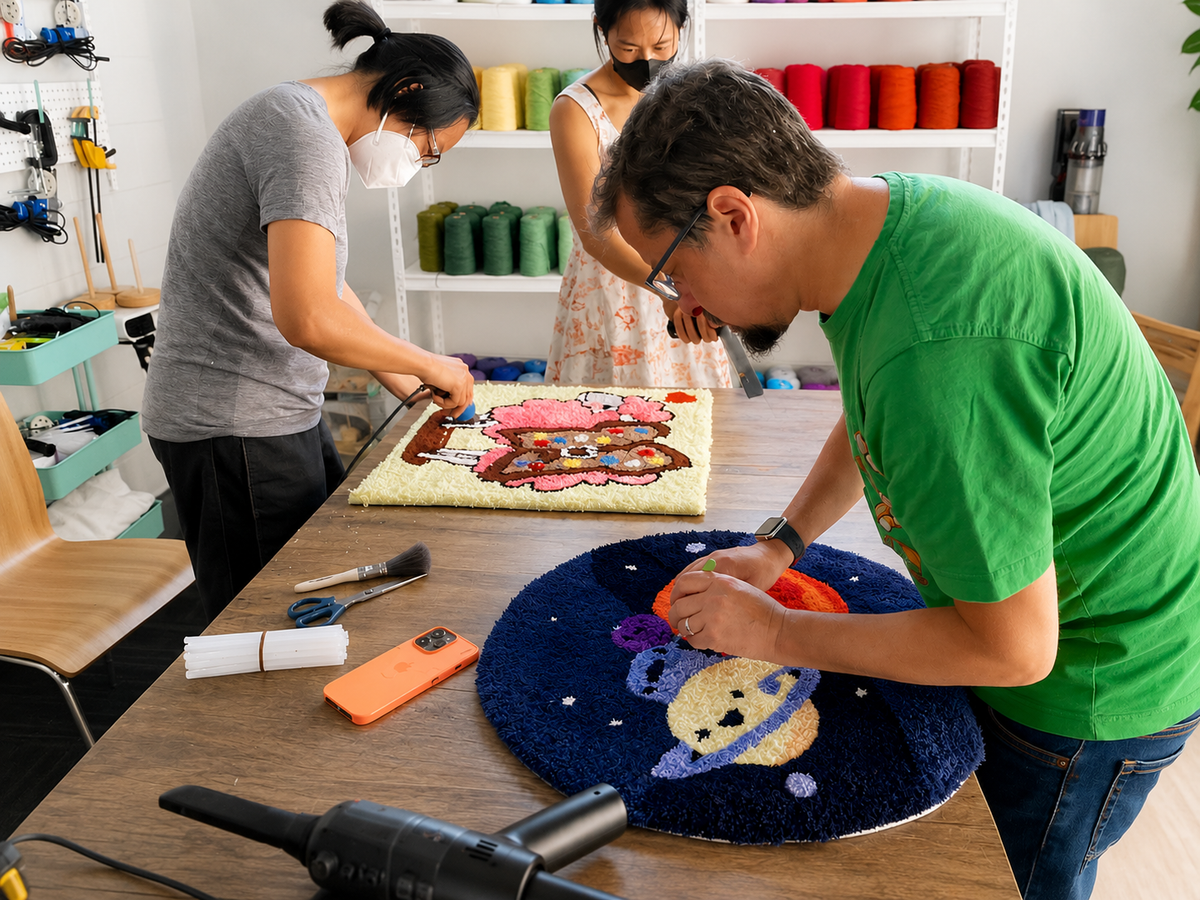
Finishing keeps the stitches secure, covers the working cloth and tidies the surface. Work from the back first, then return to the front for trimming.
The finishing order
- Check the front and repair any gaps.
- Apply backing adhesive to the reverse.
- Let the adhesive cure.
- Add the final backing layer.
- Trim the edges and surface.
1. Secure the stitches
Leave the rug on the frame while applying rug backing adhesive. Spread an even layer across the tufted areas on the reverse without forcing large amounts through the cloth.

Allow approximately 12 to 24 hours for curing, depending on the layer, room conditions and product instructions. Do not remove the piece from the frame while the adhesive is still wet.
2. Choose the final backing
Backing cloth gives the reverse a clean woven finish. Anti-slip backing adds grip for a floor piece.

3. Attach heat-bonded mesh carefully
Heat-bonded adhesive mesh can join the rug and final backing without another wet layer. Place it evenly, work from the centre towards the edges and test a small offcut first.

For the current mesh, use approximately 125 to 135°C for 10 to 14 seconds per section, following the product instructions. If you are adding anti-slip backing, place a thin plain cotton cloth between the iron and backing so the grip material is not exposed directly to heat. Never iron exposed adhesive mesh.
4. Trim the edge
Once the backing is secure, cut away excess primary cloth while leaving enough to fold or finish the edge. Work slowly around curves and corners so you do not cut into the tufted yarn.
5. Level the surface
Use scissors or clippers to remove obvious high points. For cut pile, you can also define colour boundaries with shallow, controlled cuts. Check the surface often and stop before the yarn becomes too short.
Before you call it finished
- The adhesive is fully cured.
- The backing sits flat without loose edges.
- No working cloth is visible from the front.
- The surface is even enough for the intended use.
See the current tufting supplies for backing materials and finishing tools, or contact Nice Studio if you are unsure which backing suits your piece.